Since May 2024, pfSense installation has required an Internet connection and the use of the Netgate Installer client.
This tutorial shows you how to install pfSense using this method.
Operating principle
Until May 2024, it was possible to download a pfSense installation image, which could then be installed offline using a CD or USB key.
This simple and effective installation method is no longer officially offered by Netgate, the publisher of pfSense software.
From now on, you’ll need a third-party program called “Netgate installer” to install pfSense CE (the open-source community version) or pfSense+ (the paid-for proprietary version).
In this article, we present the steps to follow to install pfSense.
However, at the end of this article we’ll show you how to download the latest versions of pfSense (up to pfSense 2.7.2) directly in iso or img format; this solution has the advantage of allowing offline installation.
Direct download of pfSense 2.7.2
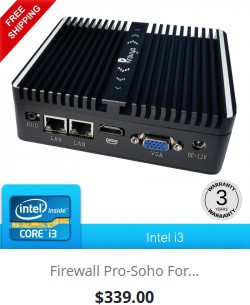
Firewall with pfSense pre-installed
Looking for a firewall with pfSense already installed?
In our online store, we offer firewalls with 2 to 36 network ports, with Gbps, 10GbE, SFP+ fiber connections and more.
All our firewalls come with a 3 to 5-year warranty.
1. Download Netgate Installer
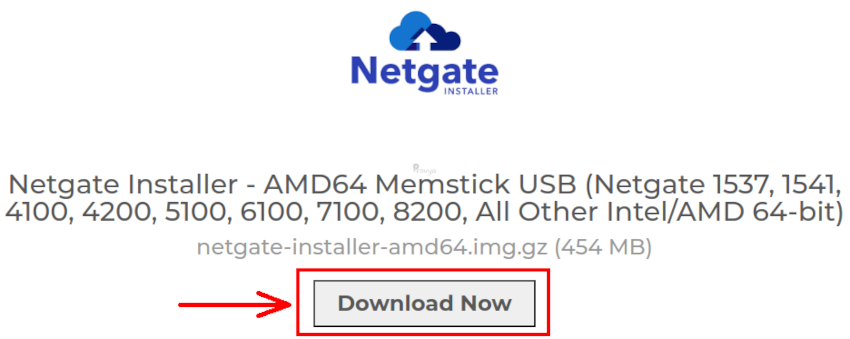
The first step is to download the Netgate Installer software.
1/ Direct download
The most direct solution, without the need to create an account, is to download Netgate Installer via the following link: https://provya.fr/download/netgate-installer-amd64.img.gz.
2/ Download from the publisher’s website
You can also go to the publisher’s website, select AMD64 Memstick USB from the “Installation Image” drop-down menu, then click on the Add to cart button:
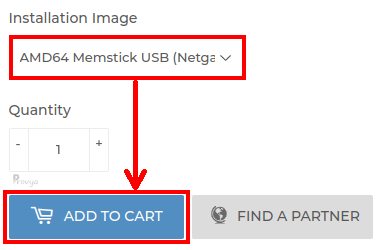
You then need to complete the order (you’ll need to create an account). Finally, you can download the Netgate Installer software.
Limits
If you have an Internet connection via PPP (PPPoE, L2TP, PPTP or PPP), then the Netgate installer won’t work.
Up to pfSense 2.7.2, we can directly download an offline installer in iso or img format (see our paragraph Direct download of pfSense 2.7.2).
2. Prepare your installation USB key
The downloaded image is compressed in gzip format. The first step is to decompress it.
Under Windows, the 7-Zip tool will do the job perfectly.
Under BSD, GNU/Linux, Mac, simply right-click, then extract-here or unzip with the following command:
gzip -dYou’ll then need to write the image to a USB stick.
The Etcher software for Windows, GNU/Linux and Mac makes it easy to create a bootable USB flash drive.
For a more detailed procedure: https://docs.netgate.com/reference/create-flash-media.html.
3. Start installation
You’ll need a keyboard, usb key and screen.
If the firewall doesn’t start on the usb key, you’ll need to go to its Bios/Firmware to modify the startup order.
For a Provya firewall, simply press the “Delete” key repeatedly when powering up the device. Then move to the last tab, “Save & Exit”, and in the Boot Override section, choose the line corresponding to your USB key (in our case, “UEFI: USB DISK 2.0 PMAP”):
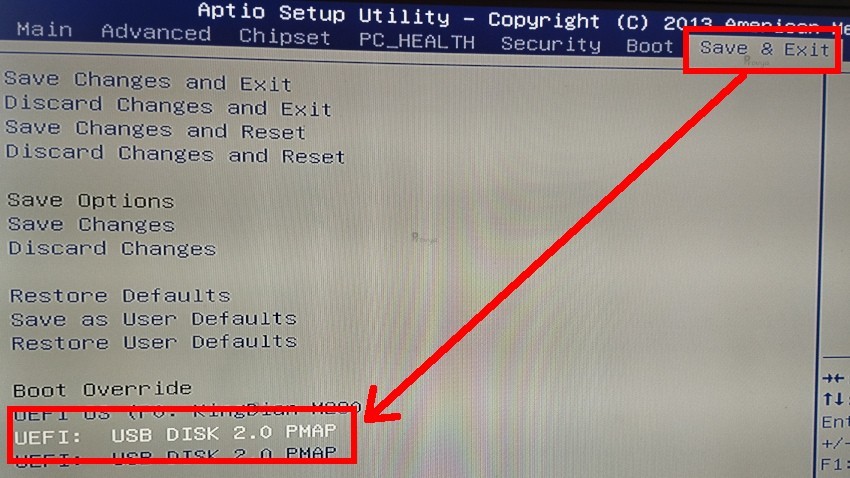
Press Enter and the firewall should restart on the USB key.
License
The first screen shows the pfSense software license, which the user must accept to start the installation.
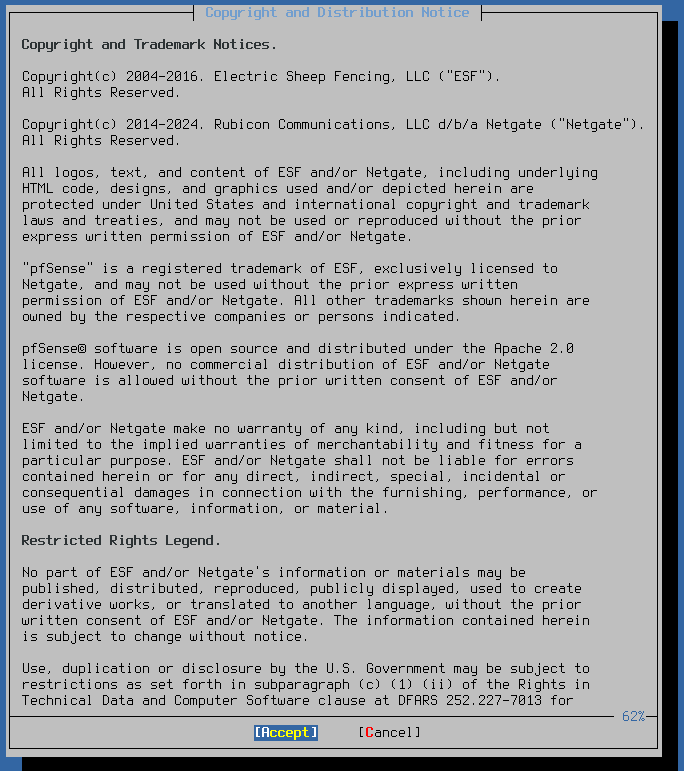
Press Enter to accept the conditions and continue.
Home menu
Next, the installer prompts you either to start the pfSense installation or to launch the recovery console.
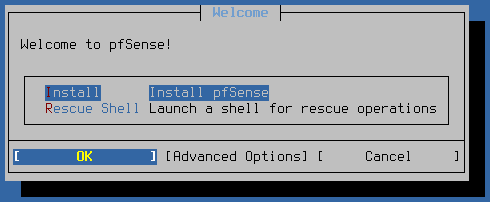
Use the arrow keys to select an option, then press Enter. In our case, we choose Install.
Configuration retrieval
The installation program checks whether a configuration already exists on the firewall or on the USB key. If this is the case, it offers to save it.
The Continue choice allows you to start with a basic installation.
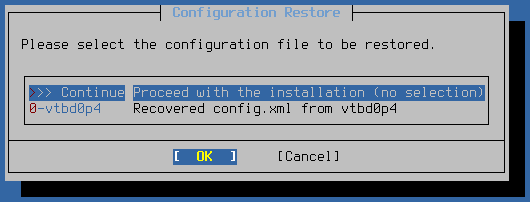
If no configuration is found, this step is skipped.
Network configuration
As this is an online installation program, it requires a network connection to download the installation packages from the Netgate servers. To configure the network, the installer needs to know the WAN and LAN ports, as well as the configuration details for these networks.

WAN interface selection and configuration
The first interface to assign is the WAN interface. This is the interface connected to the Internet. The setup program presents a list of all detected interfaces and their MAC addresses, as well as their current link status.
Use the up/down arrows to select the WAN interface and press Enter to continue.
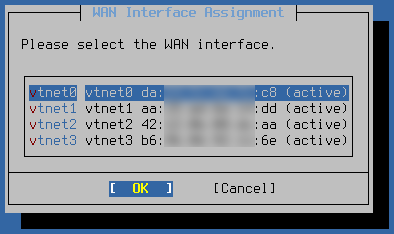
This WAN interface can then be configured: address obtained automatically by a DHCP server, fixed IP addresses, etc.
Selecting and configuring the LAN interface
The second interface to assign is the LAN interface. This is the interface connected to the local network.
Although not necessary at present, future versions of the installer will require a properly configured LAN connection.
Use the up/down arrows to select the LAN interface and press Enter to continue.
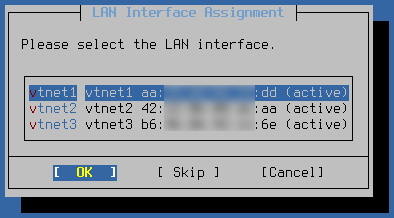
It’s also possible to configure this LAN interface: address obtained automatically by a DHCP server, fixed IP addresses, etc.
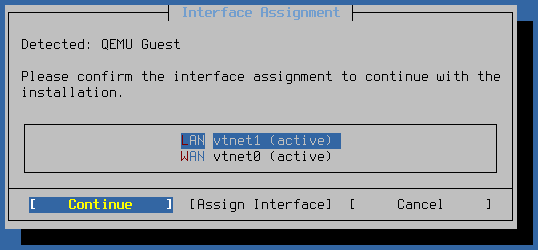
Confirm network configuration
Confirm interface choices to continue installation. A working Internet connection is essential at this stage.
Choice of pfSense version
The installer will connect to the Netgate servers to check whether the hardware has a valid license key. If this is not the case, the installer will propose either to install pfSense CE (the open-source community version), or to acquire a license key for pfSense+ (the paid proprietary version).
In our case, we choose “Install CE” to install the community version of pfSense.
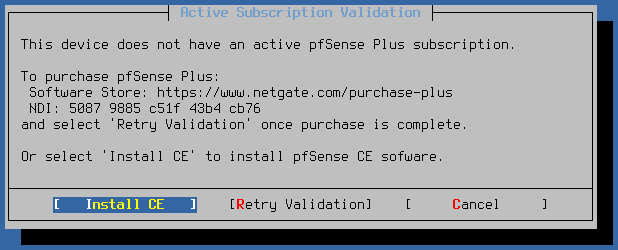
We then return to the usual pfSense installation procedure.
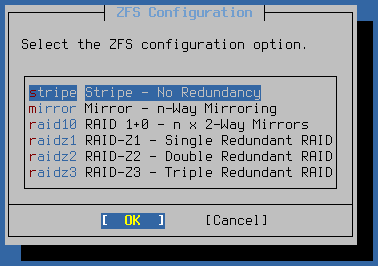
For a basic installation, the default choices should be the right ones.
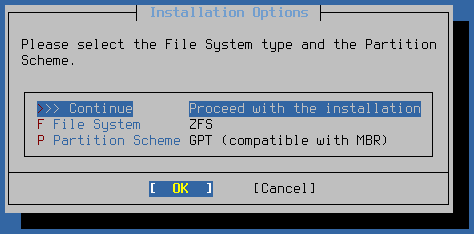
For a single-disk installation, choose “stripe”; for a dual-disk installation, choose “mirror”.
End of installation
Once installation is complete, the program will prompt you to restart the firewall.
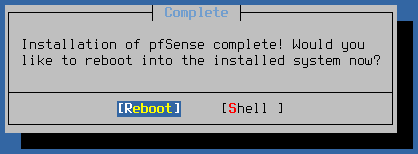
When restarting, it will be possible to remove the USB key.
Congratulations, pfSense is installed. You can now take control of the firewall from the LAN port on the IP address configured in the previous steps (https://192.168.1.1 by default).
Direct download of pfSense 2.7.2
The University of Dakota has a pfSense download repository. From this repository, you can download the latest versions of pfSense CE up to version 2.7.2.
The URL is https://repo.ialab.dsu.edu/pfsense/
You’ll need to prepare a bootable USB key as described in paragraph 2. Prepare your installation USB key.
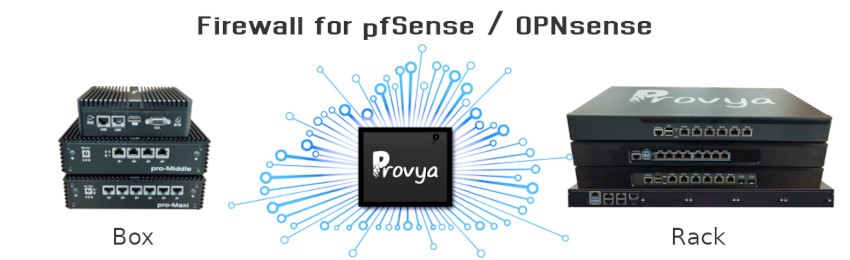
Take a look at our firewalls
For pfSense or OPNsense
3 year warranty
Free delivery to USA, Canada, EU and UK